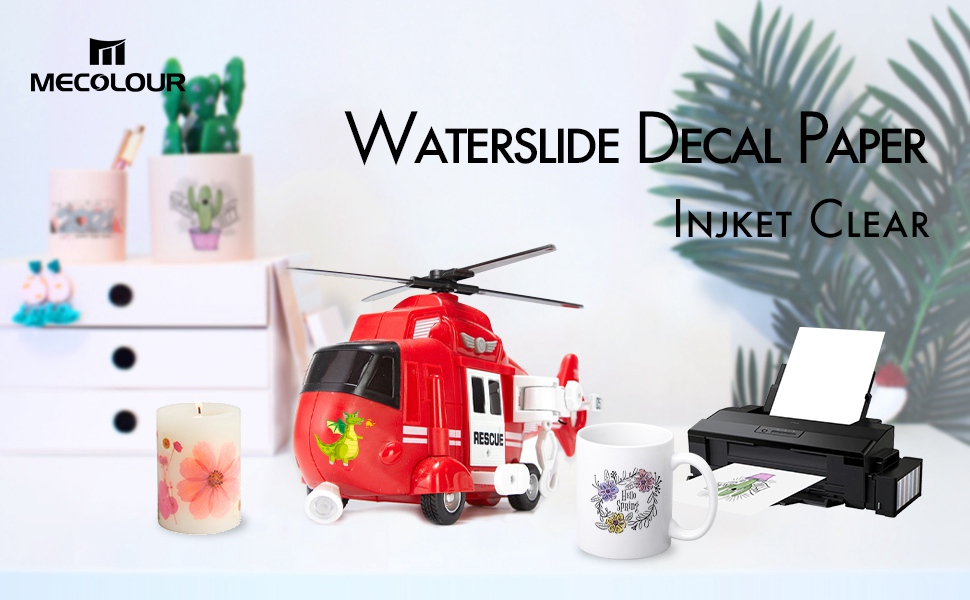
MECOLOUR Premium Water Slide Transfer Paper 20 Sheets For Any Epson HP Canon Sawgrass Inkjet Printer A4 8.5x11 Inch
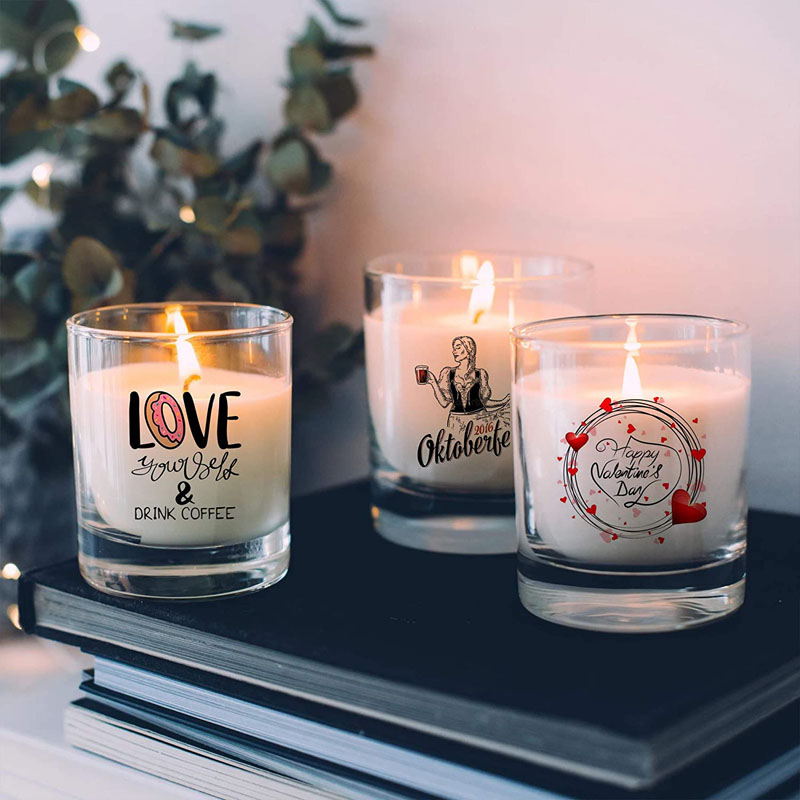
🸠EXCELLENT GIFT IDEA: Using MECOLOUR water slide paper to make personalized gift. By your own DIY design of the waterslide decal paper inkjet, Print photos, Logos, Decals, Designs, Labels, Artwork for Birthday Gifts, Office Gifts, Christmas Ideas,Valentines Day, Anniversary, Graduation, etc.
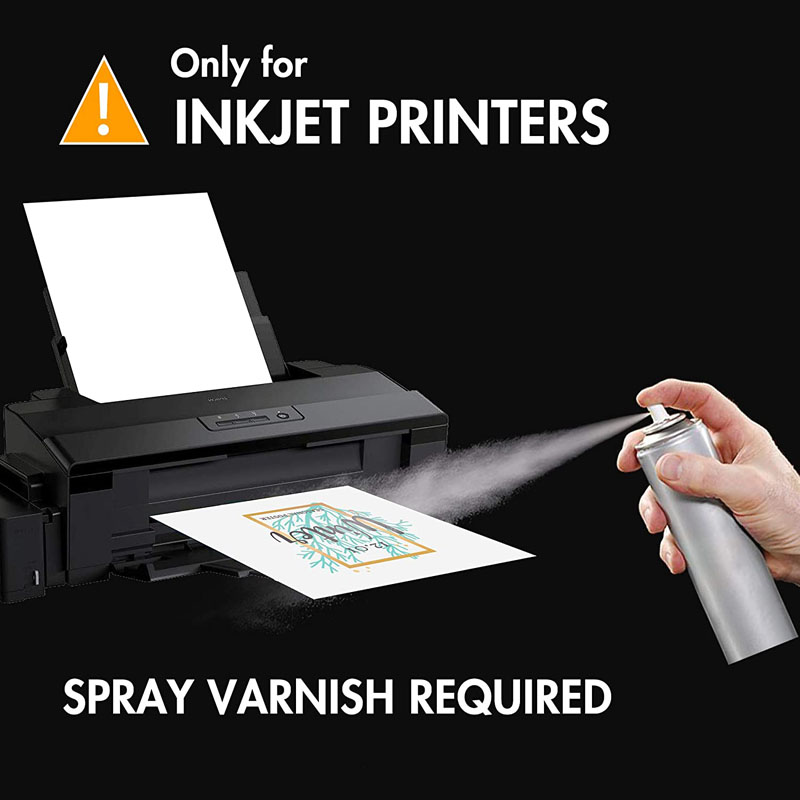
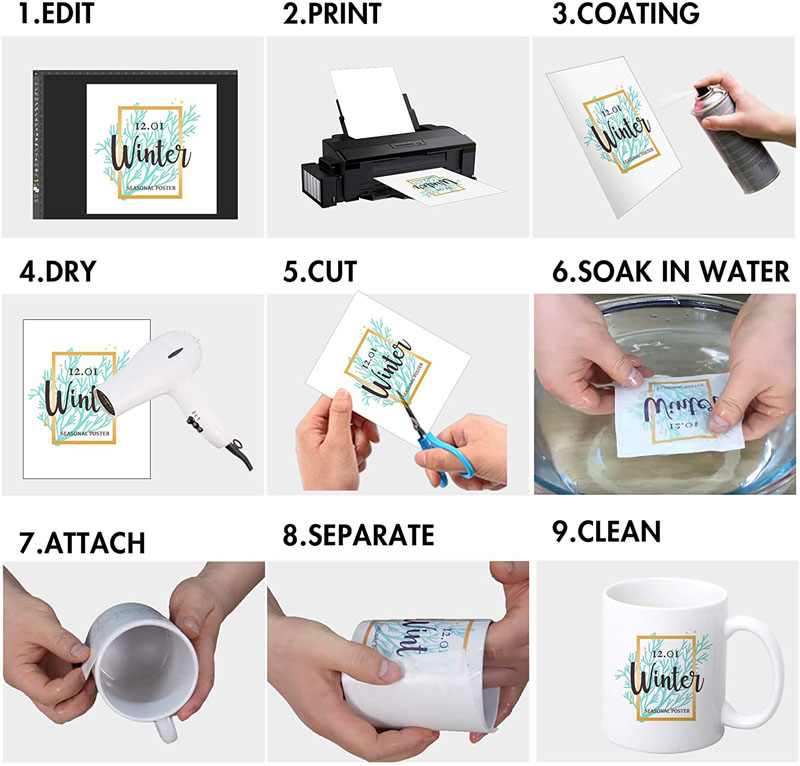
🸠EASY TO USE - An inkjet printer and an acrylic spray are all that's needed. Print with a heavy paper setting, seal the image with a spray, dip in water and apply. Inkjet decals MUST BE SEALED right after printing, otherwise the ink will bleed. Instructions included in products and videos also available.
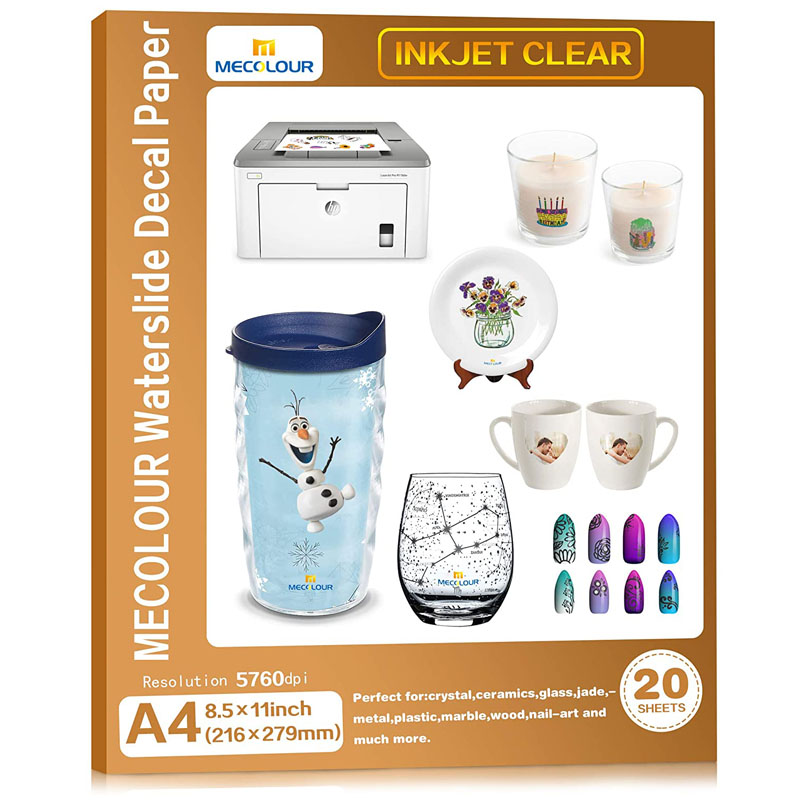
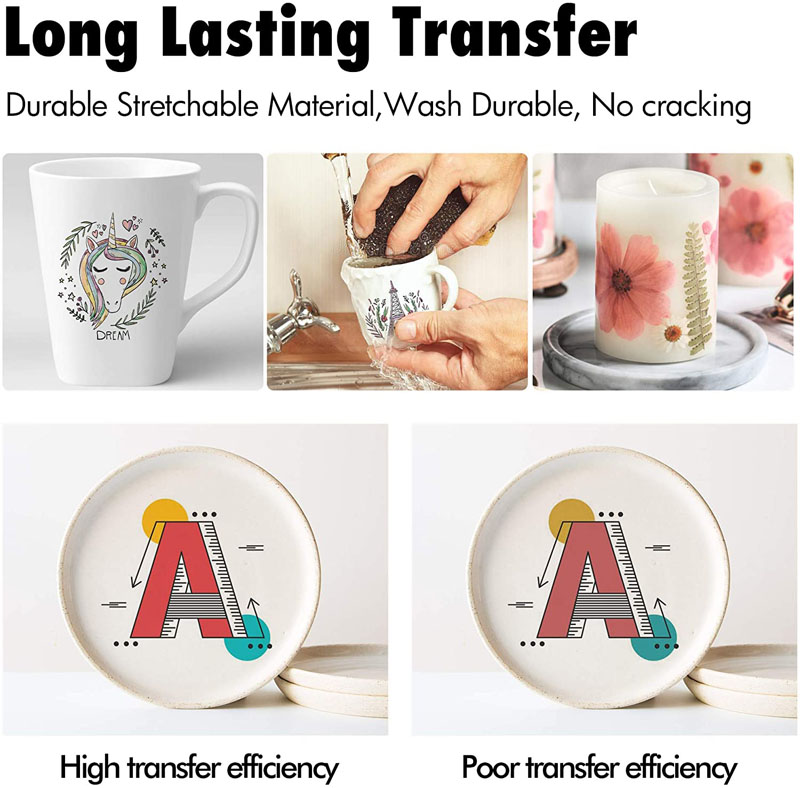
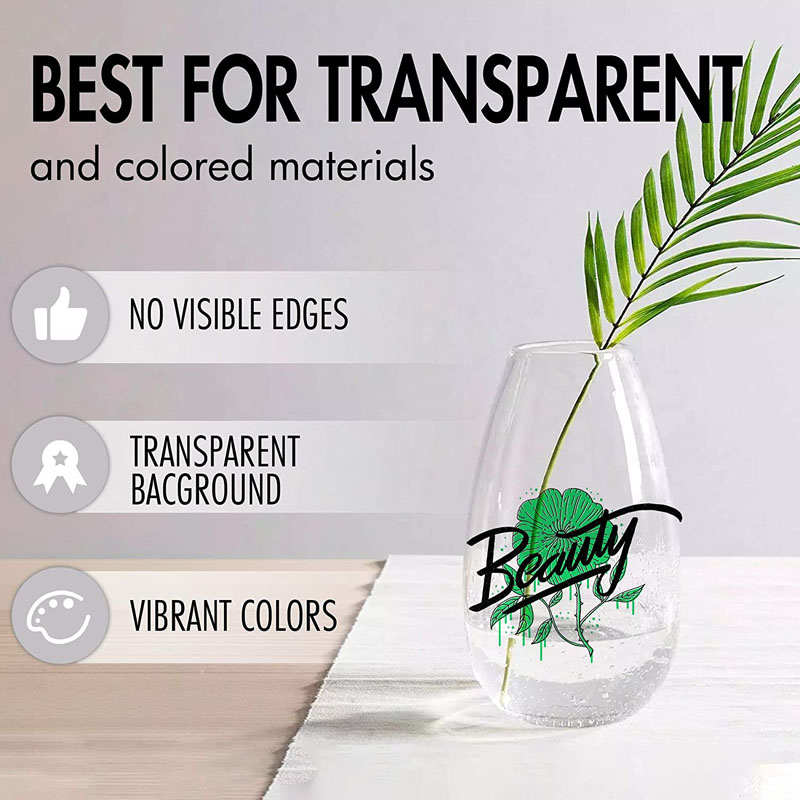
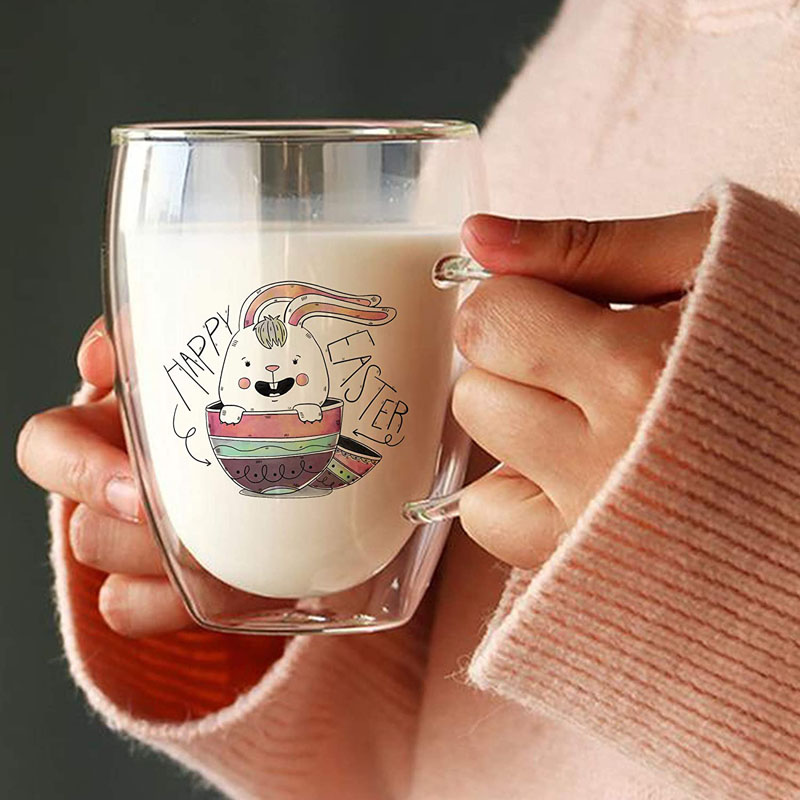
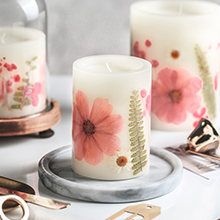
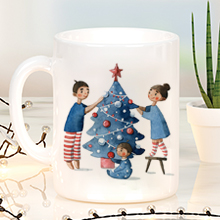
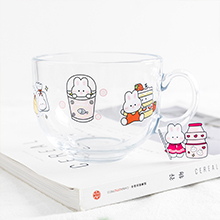
🸠TEST YOUR CREATIVITY: MECOLOUR waterslide decal paper inkjet can be used on Ceramics, Bamboo, Paper, Jade, Metal, Glass, and Plastics etc. Waterslide paper inkjet clear print any image, photos, art work, wild life or natural beauty and put it on your favorite Mug, furniture, your phone etc. It can be a excellent gift!
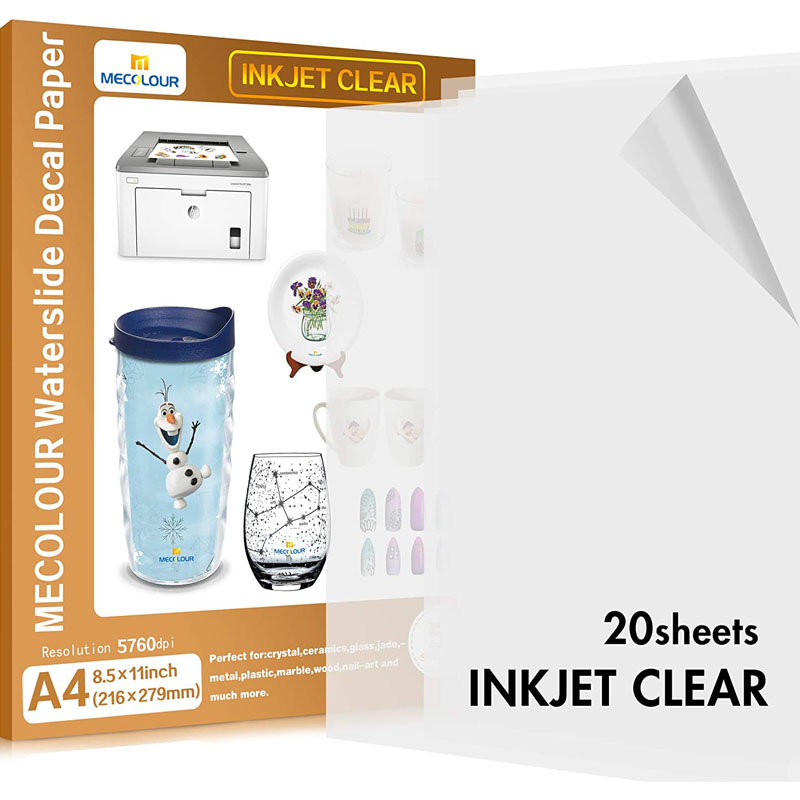
🸠HIGHEST QUALITY PAPER: MECOLOUR waterslide decal paper inkjet is the highest quality A4 size Transparent Transfer Paper in the market. Decal water slide paper with 5760 dpi, it provides supreme color quality and presentation.No fading and excellent color presentation.
🸠100% SATISFACTION GUARANTEE: Our water slide paper ensures your satisfaction. If the Waterslide Decal Paper does not meet your expectations, please feel free to contact us.We will provided the best service to you.We promise our decal water slide paper can provided the best service to you.
PRODUCT INFORMATION
Number of Items:20
Technical Details
| Manufacturer | MECOLOUR |
|---|---|
| Brand | MECOLOUR |
| Item Weight | 8.1 ounces |
| Package Dimensions | 11.02 x 8.5 x 0.39 inches |
| Number of Items | 20 |
| Sheet Size | 8.5-x-11-inch |
| Manufacturer Part Number | Inkjet Water Slide Transfer Paper |
PRODUCT PICTURE


.")


 for 10-15 minutes. Ceramics are NOT dishwasher safe and must be cleaned by hands gently. Take out the ceramics and let it dry naturally after baking; it needs to stand for 3 days for the color fixation to strengthen.")


LEAVE YOUR MESSAGES
If you have any questions about SureStar and SureStar products, please contact us.If you have any questions about SureStar and SureStar products, please contact us.